

 Back to Blogs
Everything You Need to Know About Installing Exterior Doors

Your home’s exterior doors have a big impact on your Wilmington property. After all, exterior doors in the front or back are gateways to your home’s interior, security checks to provide peace of mind, and some of the most important spots for curb appeal. So when one or several exterior doors start to look their age, it’s a good idea to start thinking about exterior door replacements.
But should you hire a contractor or tackle the project yourself? And if you do decide to install an exterior door personally, what are the key steps to get the job done? Today, let’s explore the ins and outs of exterior door installation!
DIY or hire a professional?
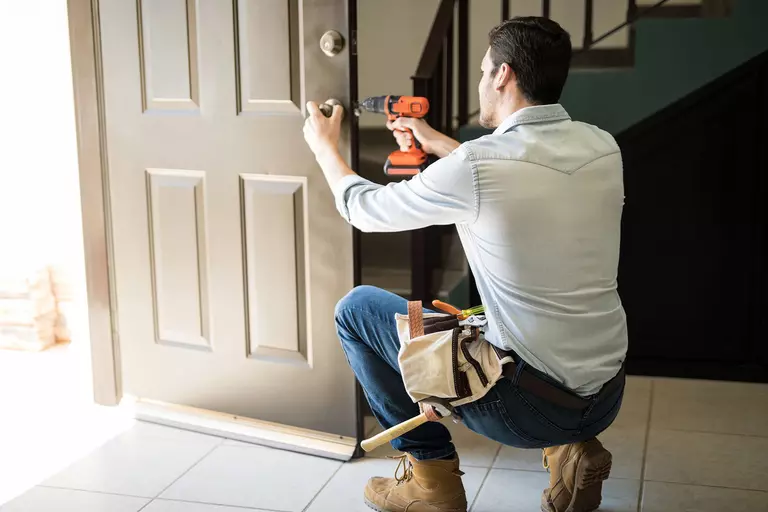
You’ve decided you need a new exterior door, like a brand-new modern entry door, to make your Port City home stand out in the neighborhood or to replace an old, warped door with serious drafts. The next question is: should you install your new door yourself or hire a contractor for this home improvement project?
Installing the door yourself takes a lot of elbow grease and some construction know-how, but it’s definitely doable with the right mindset and materials! On the other hand, hiring a contractor could be a better bet if:
- You want to make sure your new door is installed perfectly.
- The exterior door you want to install is made of very high-quality materials.
- Your new exterior door is a different size than your existing doorframe – this installation project will necessitate a little more work and professional expertise.
There’s no right or wrong answer here. It’s up to you!
Exterior door installation cost
On average, the cost to install an exterior door (front or back) will be around $1300. More affordable door installation fees might hover around $500, while pricier installation jobs can go well over $2000!
So, how much might you personally pay? Door replacement costs depend on factors like:
- The type of door you choose
- The door material
- The size of the door
- The hardware needed for the installation job
- Labor costs
For instance, a new Norwood Textured Steel door from Waudena will cost more to install than a basic wood slab – but it’ll also be worth more in the long run due to its excellent aesthetics and durability!
It’s a good idea to anticipate paying $1000-$2000 for a high-quality, long-lasting door installed by experts.
How to install an exterior door step-by-step
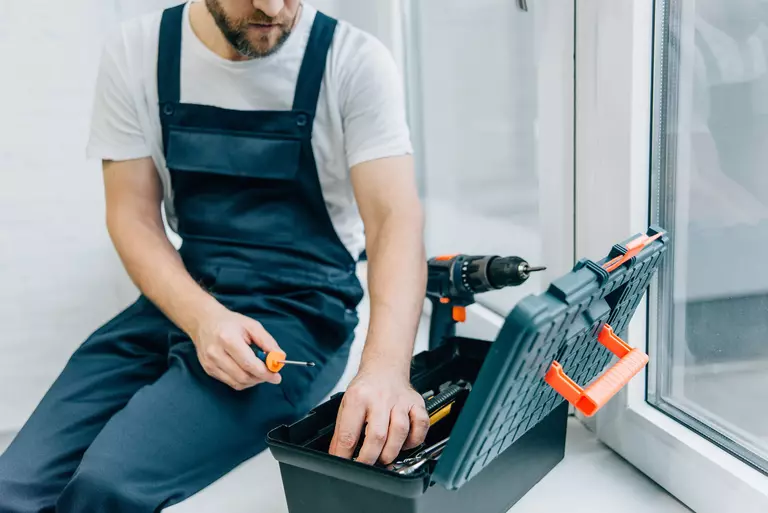
If you want to install a new exterior door yourself for the experience or to avoid extra costs, you've come to the right place. Before you begin, make sure you have the right tools and materials, including:
- Levels, preferably 2 ft and 4 ft
- A caulk gun
- Polyurethane caulk
- A hammer 4d finish nails, 6d finish nails, and 10d finish nails
- 10d galvanized casing nails and 16d galvanized casing nails
- 3” deck screws
- A prybar
- A backer rod
- A reciprocating saw
- A tape measure
- A miter saw
- A utility knife
- Self-sticking flashing membrane
- Expanding foam
- Shims, such as flat wood slices or chips
- A new door, of course!
DIY exterior doors are usually called prehung exterior doors, making it easy to find the right new doors in-store. Now, let’s start with your first major step.
Step 1 – Measure your door frame
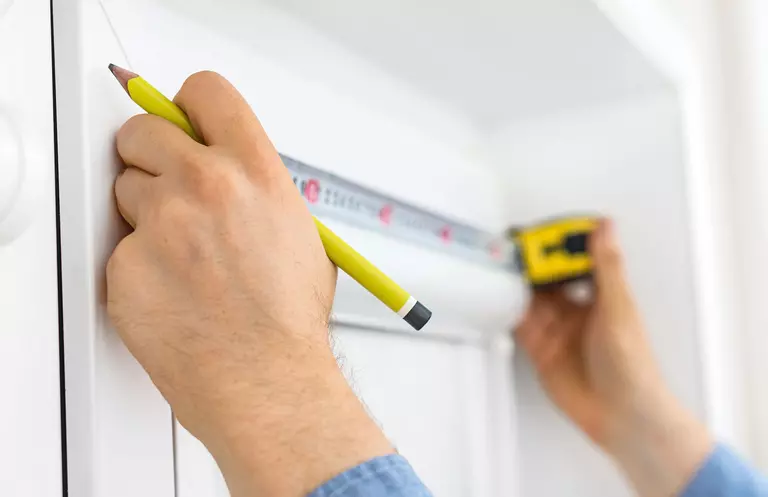
You can’t put in a new exterior door if you don’t get rid of the old one. And you can’t do that until you know the right size of door for your home.
Therefore, you should start your exterior door installation by measuring your doorframe carefully. Take your time during this step; inaccurately measuring the frame could cause you to purchase the wrong door, setting you back in terms of both time and money.
To accurately measure your doorframe and other relevant dimensions:
- Measure the width and height of your old door, then round up those values to full inches. For instance, if you have a door that's 33.5" wide, round that up to 34" wide.
- Measure the door jamb width. Start from the backside of the interior trim, then measure to the backside of the exterior trim.
- Measure the “rough opening.” To do this, you’ll need to remove the interior trim of your old door, so save this measurement for Step 3. To measure it properly, measure the opening of the door width, then measure from the bottom of the sill to the top of the door opening.
- Measure the “exterior opening,” which is the outside edges of the exterior casing of the door frame. Then, measure your doorframe from the bottom of the sill to the top of the exterior trim.
Step 2 – Get rid of the old door
After your measurements are complete, you need to get the old door out of the way. This is simpler than it sounds:
- Tap the door hinge pins loose with your hammer or nails (if needed)
- Swing your door open and lift it off the frame
Note that your door might be heavier than you expect! It may be wise to protect your floor with a drop cloth or cushion just in case you have to set the door edge down as you move it out of the way.
Step 3 – Remove the old trim and jambs
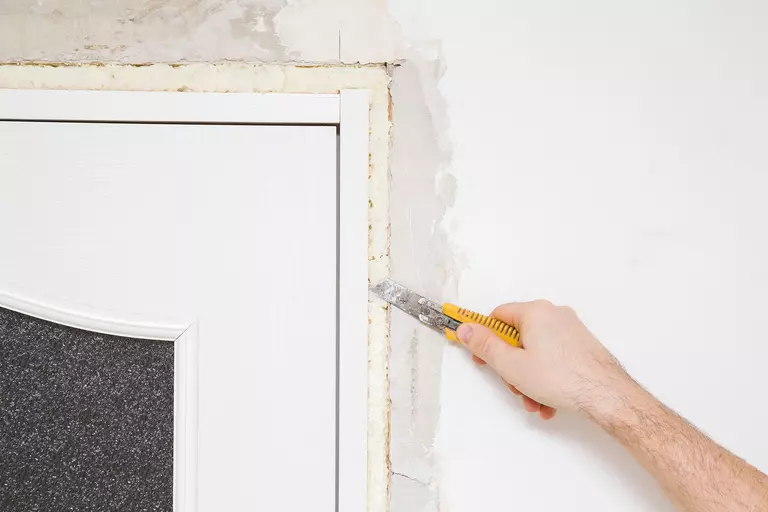
Now, it's time to get rid of the old trim around your doorframe.
Start with the interior trim, which you can remove by prying it loose with a putty knife and/or utility knife, though some trims may be removable with a screwdriver.
What if you want to reuse the trim for your new exterior door? Be sure to score the intersection between the door molding and jamb with your utility knife to prevent the pieces from breaking during removal.
Don’t forget! At this stage, be sure to measure the rough opening of your door. It’s only possible once you’ve removed the interior trim. Then, remove the exterior trim by slicing the caulk joint between your home’s siding or brick and the exterior trim pieces. Use a prybar or utility knife to pry the trim pieces loose and set them aside.
Your door's jambs need to be removed, too. Cut through the side jambs with your handsaw first, then pry the jambs loose and remove them from the door opening. Repeat the process with the top and bottom jambs. All in all, this part of the process should only take a few minutes.
Step 4 – Prep the sill, then install
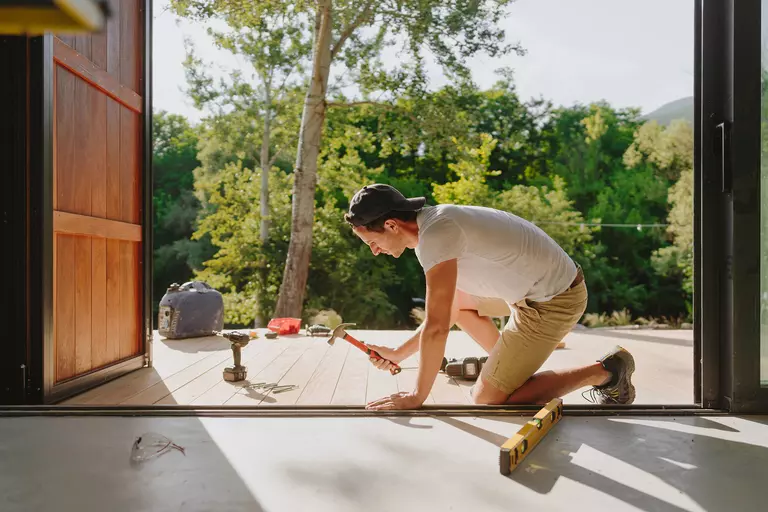
Before you can install your new exterior door, you have to set the new sill. Once your doorframe is fully removed, examine the condition of the space around the frame and the subflooring near the sill. If some of the wood is rotted, remove it before continuing.
Next, check the subflooring with your 2-ft. level. If it’s level, great! If it’s not, you can use shims to adjust the sill and “build it up” to the appropriate height by piling pieces on top of each other. Small pieces of lumber, like wood chips, are great for this, but any thin, wiggleable piece of material will do.
Just remember that your sill needs to be high enough that your door will hover just above carpeting or rugs whenever it swings inside. To make sure this is the case for your door, set your new exterior door in the opening to test the fit. Use your level on the hinge jamb, then continue to adjust the sill height if necessary.
All good? Finalize the sill position (or the positions of shims/pieces of wood) with deck screws.
Step 5 – Install flashing tape and apply caulk
You’re about halfway done installing a new exterior door! At this stage, you need to install flashing tape to protect your new door’s sill from water intrusion.
Cover your sill area with self-sticking flashing tape, then wrap the tape up both sides of the opening and sill. We recommend checking the door’s fit once more, just to ensure everything is nice and snug, before continuing.
Take your caulking gun and apply new caulk along the sill and frame. Tip your new exterior door into the opening and have a partner hold it still while you apply another line of polyurethane caulk along the sides and top of the door. For a full installation, you'll probably need two tubes of caulk, but follow the instructions for the caulk you purchased in terms of amount, setting time, etc., to ensure effective adhesion.
Step 6 – “Tack in” your new exterior door
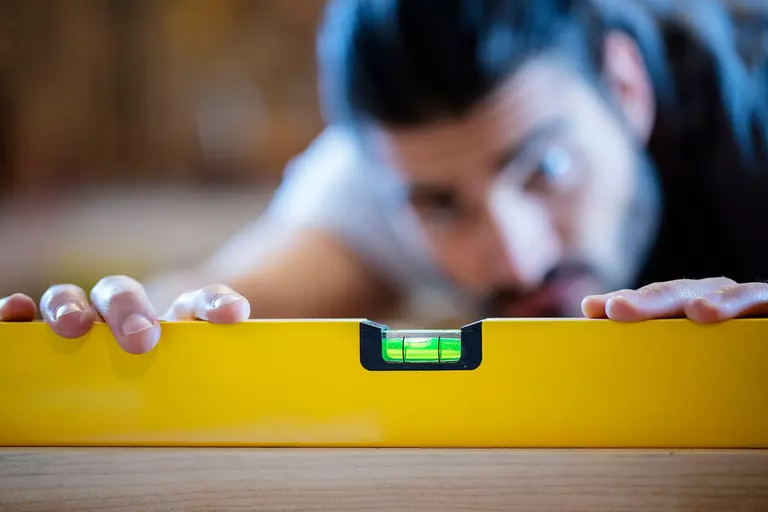
At this point, your exterior door should be in the frame, helping the caulk settle. Make sure your doorsill is level once again, then set it into the top of your door in the opening. "Tack it" into place using your galvanized casing nails and hammer.
After the top is secured, you can plumb the hinge-side doorjamb, then tack in the door’s lower corners. By fitting the door into the frame this way, you’ll make sure it’s installed evenly and is ready to be secured.
Step 7 – Shim your way to a sealed door
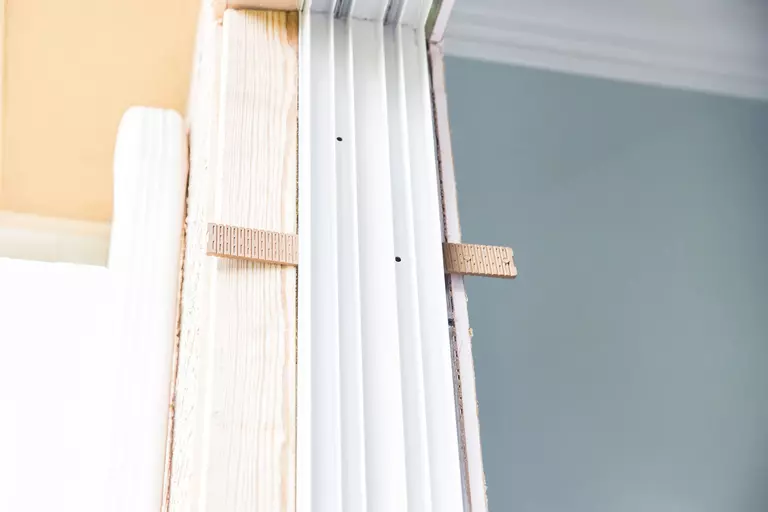
Time to make sure your new door is perfectly fitted and sealed. Take a shim piece and wedge it behind each hinge, starting with the hinge-side jamb. As you insert the shims, make sure the jamb stays plumb.
Repeat the same process for the latch-side jamb. Go from the top to the bottom of this jamb and continue to shim until the sides of the door are straight and plumb with the frame.
Once the door is set perfectly, you can score the edges of the shims off with your utility knife and break them off completely. Take a hammer and nails and nail through the latch-side jamb into the doorframe at each spot where you have shims present.
Step 8 – Replace the hinge screws
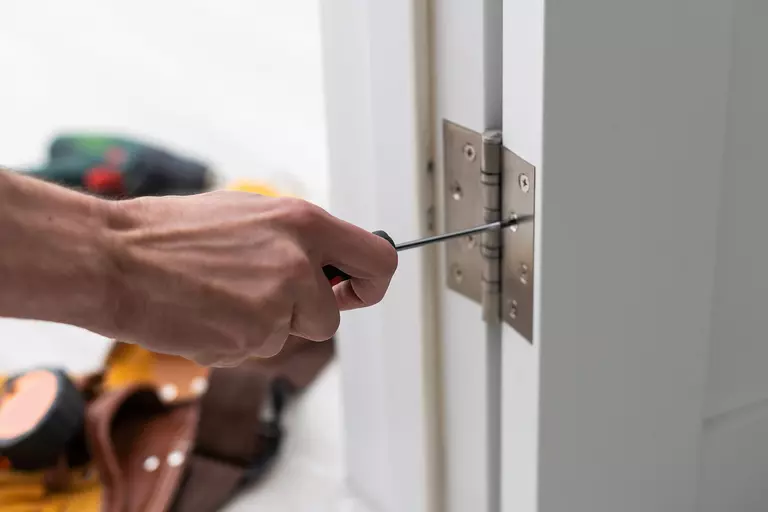
You want the hinges for your door to be secured to the frame, not the small shim pieces you just installed. That means replacing the current hinge screws with longer ones.
We recommend using 3-inch screws that are driven straight into the doorframe. That'll prevent the shims from causing the door to wiggle or flex. You should also drive extra casing nails about every 16 inches along the top and sides of the exterior.
Step 9 – Insulate!
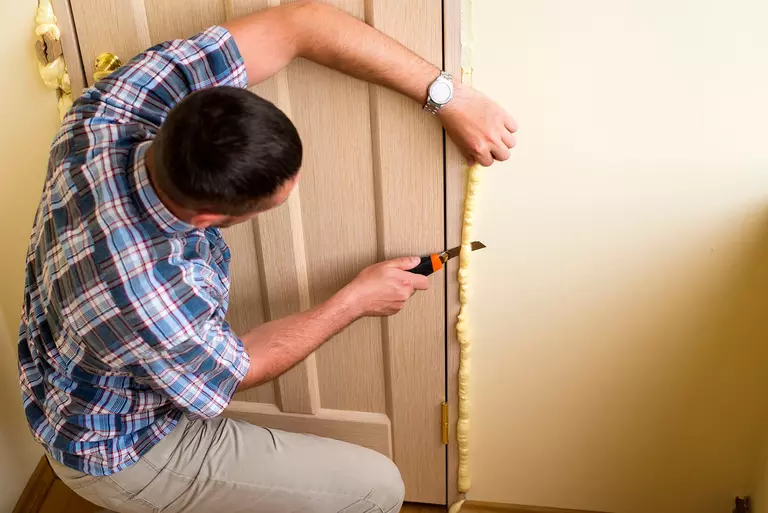
Even the best doors won’t do a great job unless they are thoroughly insulated. To accomplish this, you’ll fill the space between your doorjamb and the frame with expanding foam. You’ll probably need about two cans, but you should purchase three just in case.
Apply the expanding foam into the gap between the doorjamb and the frame and let it set. Once it has fully expanded and solidified, stuff any other small gaps with insulating material. The best choice is fiberglass insulation, which does a fantastic job of keeping your home cool or warm, depending on the season.
Step 10 – Time for new trim
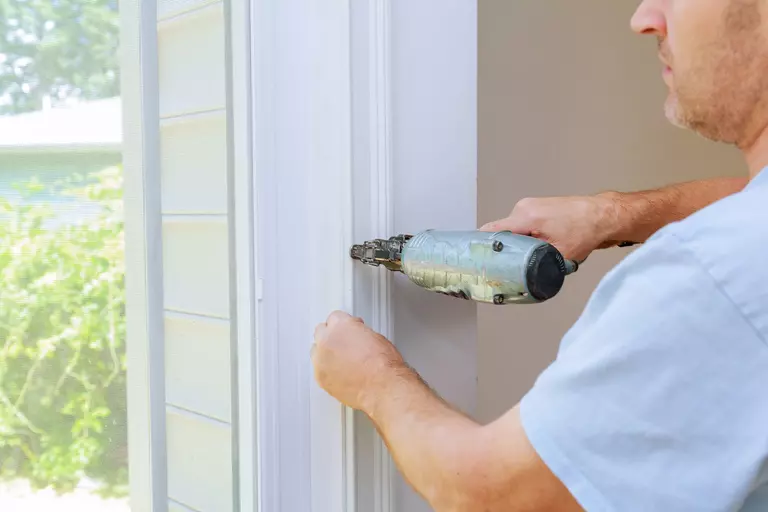
Your new exterior door is properly set, insulated, and ready to be finished. You can either take the old trim you carefully removed or install brand-new trim based on your preferences.
In either case, you’ll set the trim pieces on the interior first, cutting them into the right lengths and using your hammer to secure them in place. After installing your interior trim, repeat the process with your exterior trim, following the instructions for new trim pieces (if applicable).
Don’t have the steadiest hand for cutting? Use the old trim (if your new door is the same size as your old one) or order precut trim pieces in the appropriate dimensions.
Step 11 – Apply more caulk and backer
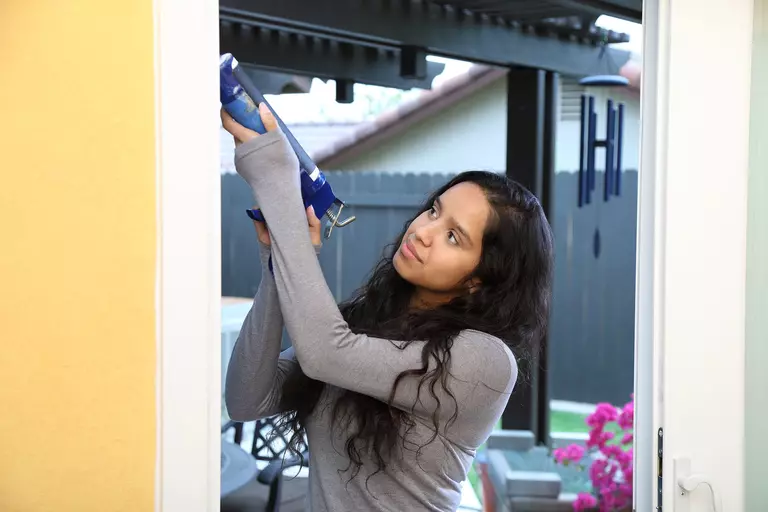
All that’s left is to apply some extra caulk. Press the foam backer rod into the gap between the siding and trim, then use your caulking gun to apply a bead of caulk between the two surfaces.
Then, cut a new trim board (or purchase a precut one) and fit it under the sill. Screw it into the doorframe – if needed, you can apply even more caulk to fill in the gap. Many exterior doors will need an extra trim board beneath the sill to support the outer door edge, but this isn’t always necessary.
Ta-da! Your new door is fully installed and ready to go. You can paint your new door, add a varnish, or decorate it however you like.
Finding the right exterior door for your home
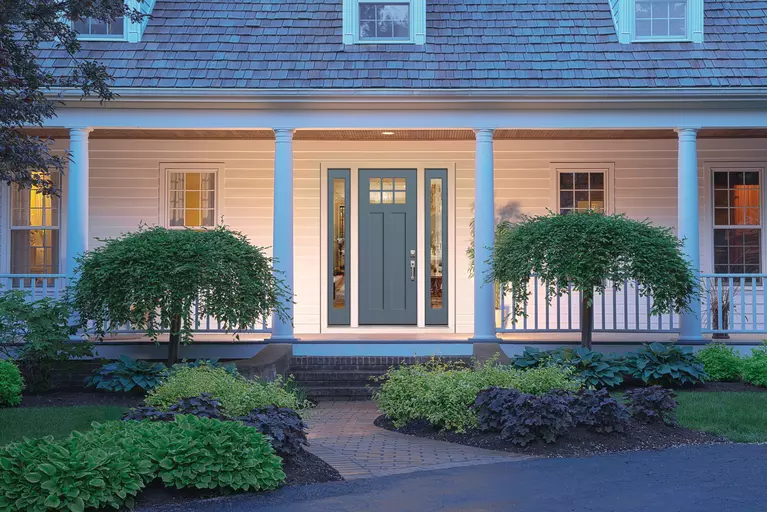
Knowing how to install an exterior door is certainly helpful. But if you want a new entry door installed perfectly, consider calling in the experts to guarantee a great result – and get some of the best new doors on the market.
Window World’s fiberglass entry doors, for instance, look fantastic, are energy efficient, and emulate the look and feel of wood with their woodgrain textures. Since they’re installed by our experienced specialists, you can be assured of your new door’s quality and performance from day one.
Whatever door you want, you can get it for your home in no time by visiting Window World of the Port City. Our showroom has some of the best exterior doors on the market, and our specialists will take care of installing your new door personally. Contact us today to learn more!